I've got a couple of projects for you - in fact, one for every day this week! Stay tuned for the perfect homemade bits for your loved ones!
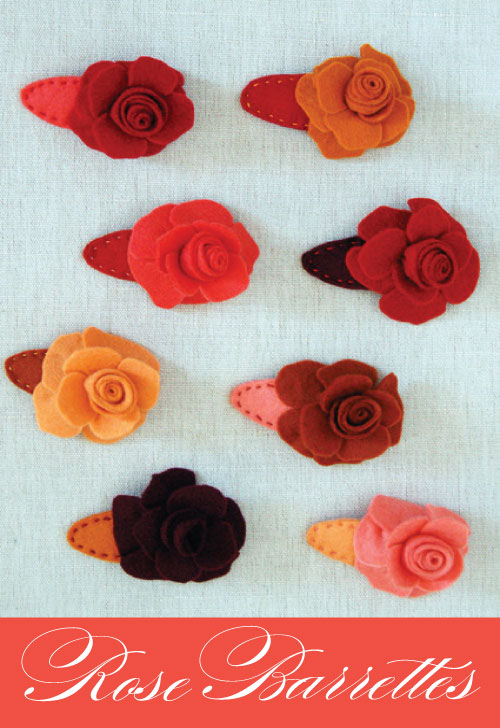 Aren't these just the most darling barrettes you've ever seen? It makes me want to be a kid again, just so I can get away with wearing them! I came across this great tutorial on Purl Bee with all of the step-by-step directions and photos you'll need to whip them up for all of your Valentines. Happy Crafting!
Valentine's Crafting - Part 2
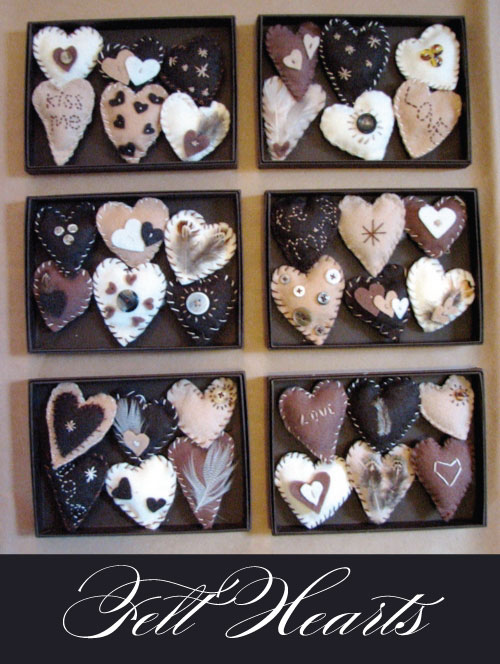 I am a sucker for beautiful Valentine’s cards. While I spend weeks thinking about the perfect Holiday card every year, I really enjoy thinking up the perfect Valentine. Last year, I whipped up up a ton of these little hearts to go along with our Haute Papier Valentine’s cards. They’re super quick and so cute when displayed all together or strung and hung as garland.
Click here for the full tutorial and more pics.
Taggie Wreath Craft Project
Take a peak at the quick craft project I completed in preparation for Haute Papier's youngest member - due any day now!
To get started, I picked up about 35 yards of different ribbons. I had a bit left over, but I wanted a really filled in look. My vision was funky yet girly so variety was really important to me. I also used a 12 inch wreath ring.

My ribbons we're different widths but all were approximately the same length - right around 13 inches each when cut. I went ahead and cut each ribbon (with GOOD fabric scissors) and laid them out for easy access. I started by tying the cut strips around the ring starting in one area and just picking my strips at random. I just made a basic tight knot so the ribbons stayed in place - nothing too fancy at all. And really I just eyed the variety at the beginning.


As the ring started to get filled in and my ribbon variety decreased I went ahead and spread out the ribbons I had less of around the remaining open section of the ring. I then proceeded to fill in from there with the ribbon I had much more of.

The wreath will be placed on my front door. The little tag reads, "Shhh ... don't wake the baby! Please knock quietly."

I think if I made another wreath (perhaps for my first nephew due in April) I would probably use fabric and cut each piece a bit wider - maybe about 1 inch. That way, the different designs might not get lost as much as my more delicate ribbon did. It would also be cool to just rip the fabric into strips instead of making clean cuts and just use rounded pinking shears on the ends to complete the look.
Crafting for Charity
One of Haute Papier's 2010 initiatives is to return to the wonderful world of crafting that we thoroughly enjoyed (read - had time for) prior to launching Haute Papier. Many of our accomplishments with Haute Papier can be traced directly to growing up crafting and we figured getting back in the swing of things will only get the creative juices flowing in new ways! After chatting with a close friend about these new found goals, it didn't take her too long to introduce me to the idea of crafting for charity. Each month, her crafting club donates their beautiful goods to Made 4 Aid (an organization dedicated to relief work in Darfur). Next month's dontations, however, will be sent to Craft Hope for Haiti - an new Etsy shop benefiting Doctor's Without Borders in Haiti. Crafters may make their donation directly through Craft Hope. Non-crafters need not feel left out - simply pledge your support by purchasing from a ton of wonderfully hand-crafted items on the Etsy store!
Tie it Up!
We do A LOT of bow tying around here all year long, but especially during the holidays when items are drop shipped directly to the recipient. To adorn your boxes with beautiful bows simply grab a couple of rolls of ribbon and follow the directions below from Better Homes & Gardens.
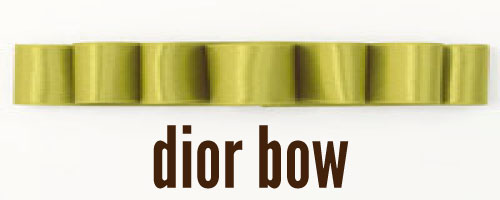 click here for the dior bow
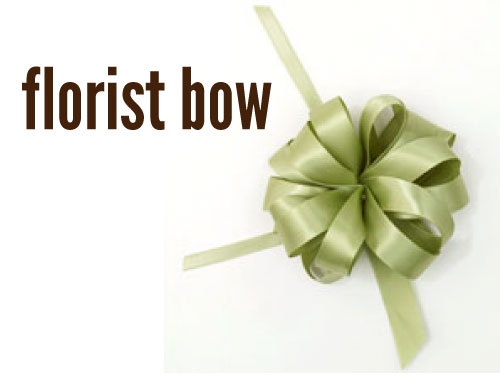 click here for the florist bow
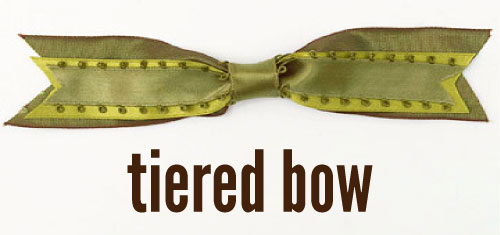 click here for the tiered bow
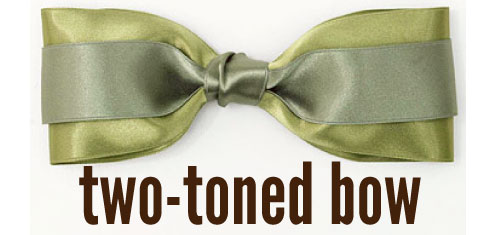 click here for the two-toned bow
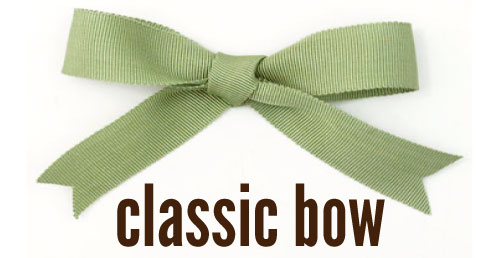 click here for the classic bow
