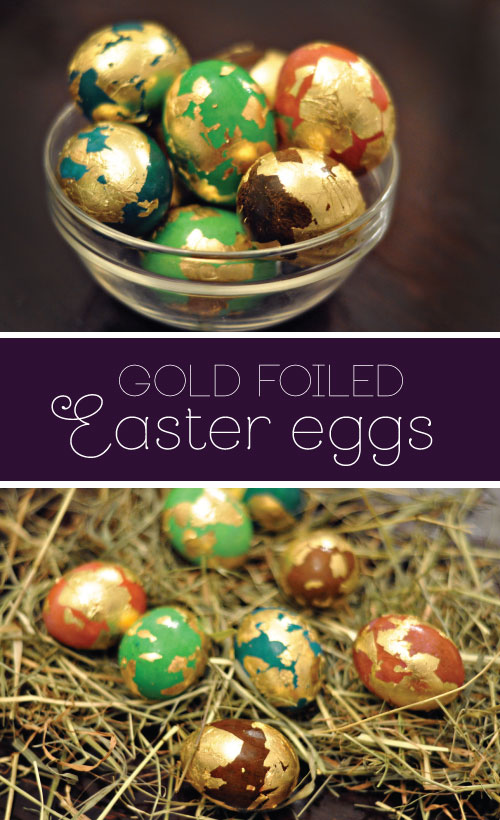
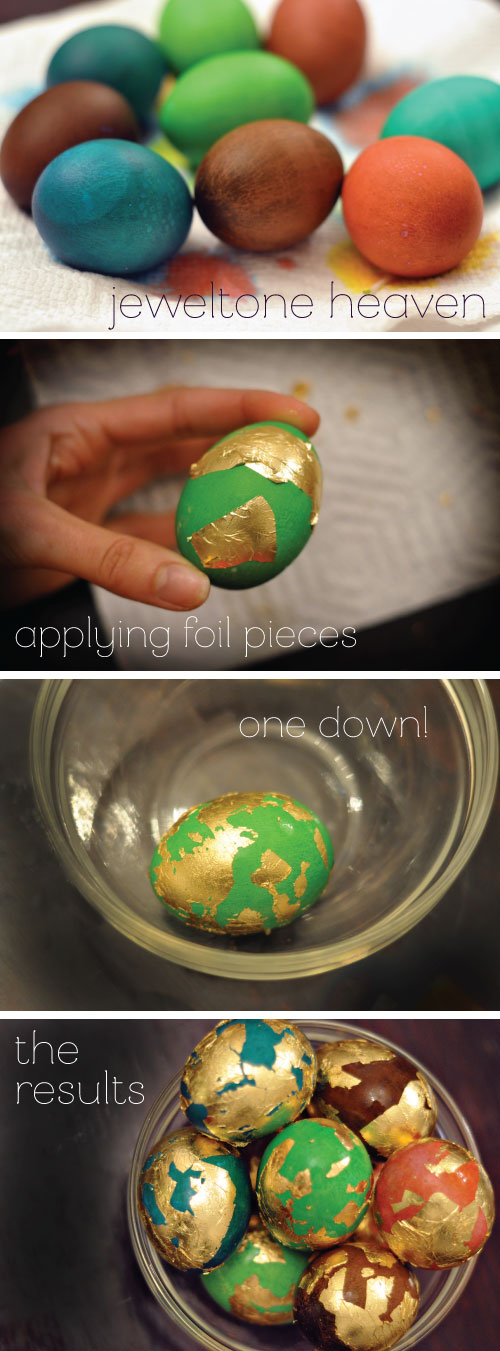
 Dying Easter eggs has always been an important family tradition in the Meyer house and as the children who used to guard their mugs of eggs soaking until they couldn't get any more color got older, the tradition has evolved with each of us celebrating the holiday with our own new traditions. This year I decided to try a new take on the annual craft and was so excited to come across this super DIY tutorial for foiling eggs. The process is actually pretty simple - especially if you've worked with gold gilding sheets in the past. I found the eggs took the size (the glue for foil sheets) much better at room temperature. Pics of my project after the jump. Happy Easter!
 a
a
Make it... for Breakfast!
In all the craziness that is the weeks leading up to the National Stationery Show, I feel like I barely get out the door in the morning, let alone grabbing a Greek yogurt (my fave!) from the fridge. This weekend, I took a step back and prepared some food for the week... Healthy lunches, bags of vegetables for snacks and homemade granola to top that yogurt for breakfast. Give it a go - it just might give you that boost that I find myself needing in the morning!

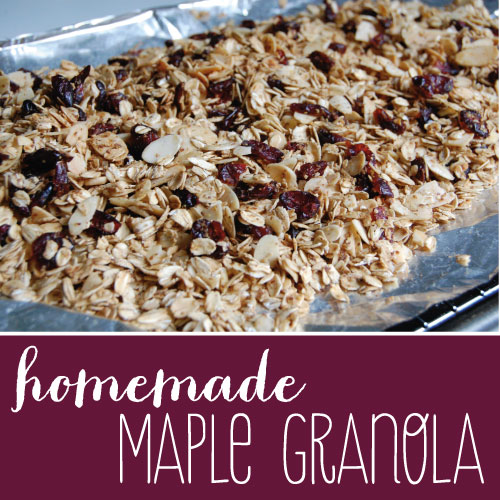
Homemade Maple Granola
1/4 cup vegetable oil 2/3 cup maple syrup 2 tsp almond extract 4 cups oatmeal (not the quick stuff… you want the old fashioned oats!) 1/2 cup pumpkin seeds 1/2 cup slivered almonds 1/2 cup golden raisins 1/2 cup dried cherries
Preheat oven to 350 degrees.
In a small bowl, combine the maple syrup, oil and almond extract. Mix well.
In a large bowl, combine the rest of the ingredients. Stir to combine. Drizzle syrup mixture over oat mixture until all syrup has been incorporated.
Spread out on a greased cookie sheet and bake for 7 minutes. Remove from oven and stir mixture around on cookie sheet. Return to oven for 8 minutes more or until golden brown.
Let cool and serve. (If stored in an air tight container, granola will keep for a couple of weeks.)
Enjoy!
Make-it Monday: Chalkboard-style
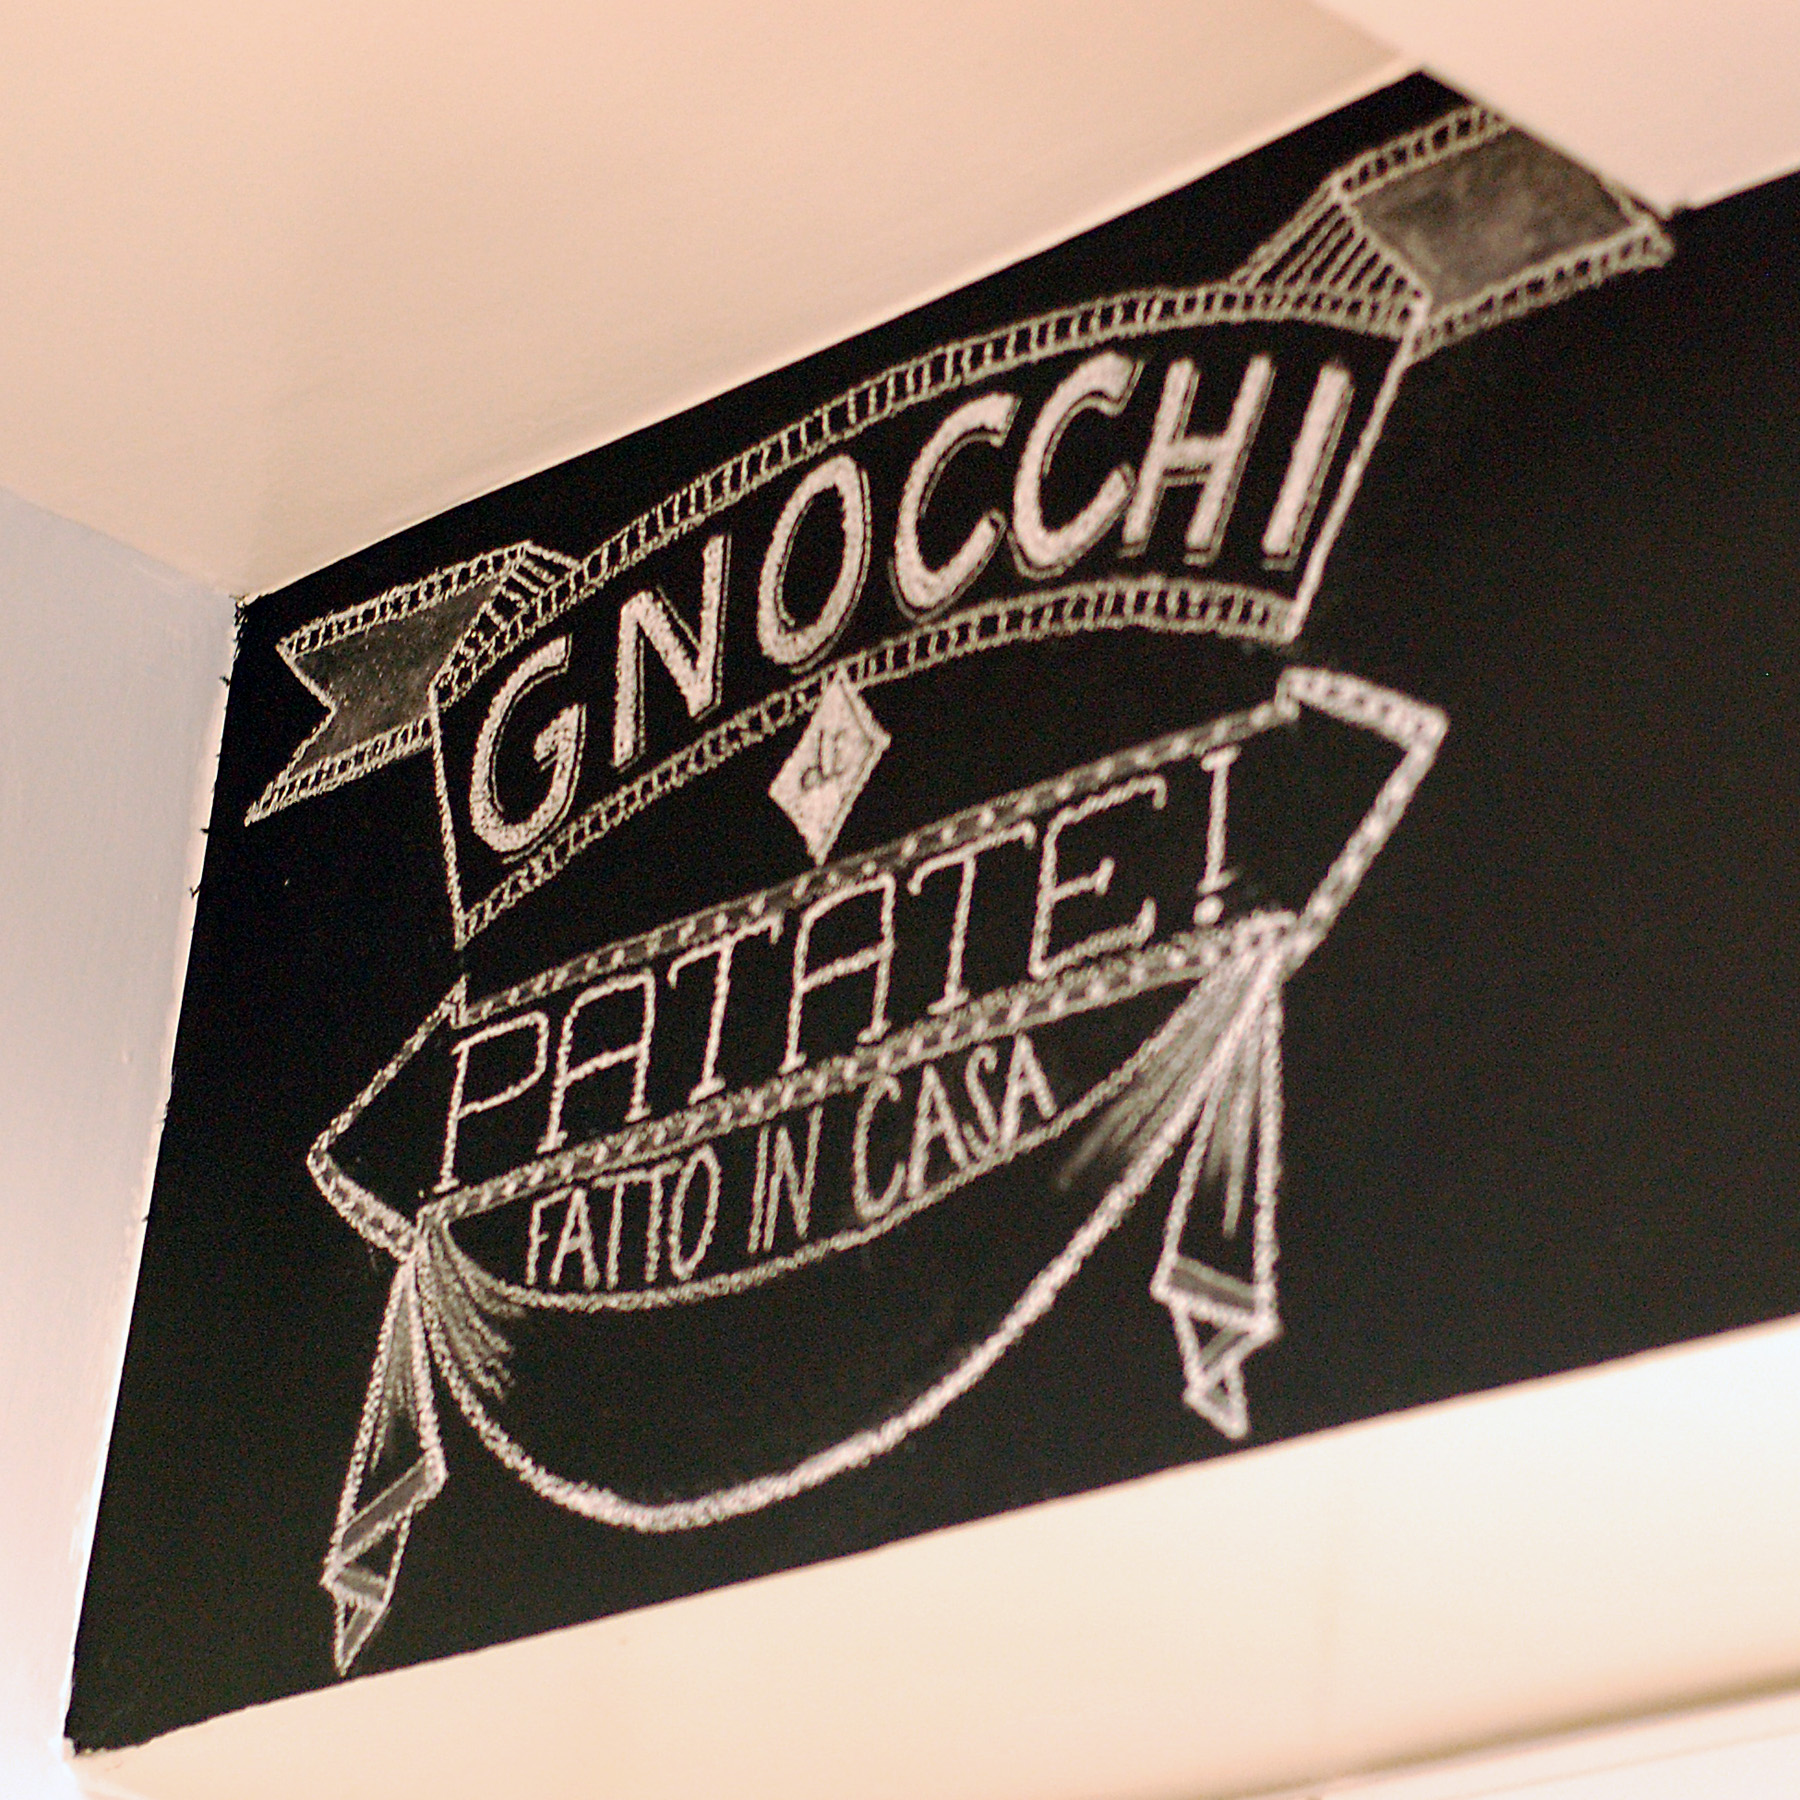
 Just a little peek inside of my kitchen today for Make-it Monday. Our all white kitchen needed a little livening up when we moved in, so I pained the top 2.5 feet of the wall in black chalkboard paint, and then started a "recipe mural" in white chalk. I'm only 1/3 done and looking forward to getting the rest of the recipe up there - maybe in the style of my new favorite font? What do you think?
Homemade Croissants
We're embarking on a journey back to my favorite adventure from our winter break right after Christmas today for our Make-It Monday feature. I've always wanted to tackle homemade croissants from start to finish entirely by hand and I did just that. I'm going to warn you - it's quite a laborious task, but I think it was SO worth the efforts for the end prize (and my husband's family did too - though they didn't have to do the rolling!) Bon Appetit!


Recipe after the break...This recipe is from a 2000 issue of Gourmet Magazine...
Homemade Croissants
- 1 1/2 cups whole milk, heated to warm (105°F–110°F)
- 1/4 cup packed light brown sugar
- 1 tablespoon plus 1/4 teaspoon active dry yeast (from two 1/4-oz packages)
- 3 3/4 to 4 1/2 cups unbleached all-purpose flour
- 1 tablespoon kosher salt
- 3 sticks (1 1/2 cups) cold unsalted butter
Make dough: Stir together warm milk, brown sugar, and yeast in bowl of standing mixer and let stand until foamy, about 5 minutes. (If it doesn’t foam, discard and start over.) Add 3 3/4 cups flour and salt and mix with dough hook at low speed until dough is smooth and very soft, about 7 minutes.
Transfer dough to a work surface and knead by hand 2 minutes, adding more flour as necessary, a little at a time, to make a soft, slightly sticky dough. Form dough into a roughly 1 1/2-inch-thick rectangle and chill, wrapped in plastic wrap, until cold, about 1 hour.
Prepare and shape butter: After dough has chilled, arrange sticks of butter horizontally, their sides touching, on a work surface. Pound butter with a rolling pin to soften slightly (butter should be malleable but still cold). Scrape butter into a block and put on a kitchen towel, then cover with other towel. Pound and roll out on both sides until butter forms a uniform 8- by 5-inch rectangle. Chill, wrapped in towels, while rolling out dough.
Roll out dough: Unwrap dough and roll out on a lightly floured surface, dusting with flour as necessary and lifting and stretching dough (especially in corners), into a 16- by 10-inch rectangle. Arrange dough with a short side nearest you. Put butter in center of dough so that long sides of butter are parallel to short sides of dough. Fold as you would a letter: bottom third of dough over butter, then top third down over dough. Brush off excess flour with pastry brush.
Roll out dough: Turn dough so a short side is nearest you, then flatten dough slightly by pressing down horizontally with rolling pin across dough at regular intervals, making uniform impressions. Roll out dough into a 15- by 10-inch rectangle, rolling just to but not over ends.
Brush off any excess flour. Fold in thirds like a letter, as above, stretching corners to square off dough, forming a 10- by 5-inch rectangle. (You have completed the first "fold.") Chill, wrapped in plastic wrap, 1 hour.
Make remaining "folds": Make 3 more folds in same manner, chilling dough 1 hour after each fold, for a total of 4 folds. (If any butter oozes out while rolling, sprinkle with flour to prevent sticking.) Wrap dough tightly in plastic wrap and chill at least 8 hours but no more than 18 (after 18 hours, dough may not rise sufficiently when baked).
Roll out and cut dough: Cut dough in half and chill 1 half, wrapped in plastic wrap. Roll out other half on a lightly floured surface, dusting with flour as necessary and stretching corners to maintain shape, into a 16- by 12-inch rectangle. Brush off excess flour with pastry brush and trim edges with a pizza wheel or sharp knife.
Arrange dough with a short side nearest you. Cut in half horizontally and chill 1 half. Cut remaining half vertically into thirds, forming 3 rectangles. Cut each rectangle diagonally in half to make 2 triangles, for a total of 6 triangles.
Shape croissants: Holding short side (side opposite tip) of 1 triangle in one hand, stretch dough, tugging and sliding with other hand toward tip to elongate by about 50 percent.
Return to work surface with short side of triangle nearest you. Beginning with short side, roll up triangle toward tip. Croissant should overlap 3 times, with tip sticking out from underneath; you may need to stretch dough while rolling.)
Put croissant, tip side down, on a parchment-lined large baking sheet. (Curve ends inward to make a crescent shape if desired.)
Make more croissants with remaining 5 triangles, then with remaining rolled-out dough, arranging them 2 inches apart on baking sheet. Repeat rolling, cutting, and shaping procedures with chilled piece of dough.
Let croissants rise: Slide each baking sheet into a garbage bag, propping up top of bag with inverted glasses to keep it from touching croissants, and tuck open end under baking sheet.
Let croissants rise until slightly puffy and spongy to the touch, 2 to 2‚ hours.
Bake croissants: Adjust oven racks to upper and lower thirds of oven and preheat to 425°F.
Remove baking sheets from bags. Spritz inside oven generously with spray bottle and close door. Put croissants in oven, then spritz again before closing door. Reduce temperature to 400°F and bake 10 minutes without opening door.
Switch position of sheets in oven and rotate sheets 180°, then reduce temperature to 375°F and bake until croissants are deep golden, about 10 minutes more.
Cooks' note: •Baked and cooled croissants keep 1 month: First freeze them, uncovered, on baking sheets until firm, then wrap them snugly in foil before returning to freezer. When ready to serve, remove foil and bake (not thawed) on a baking sheet in a 325°F oven 5 to 10 minutes.
An Owl Themed Baby Shower
I've been waiting to get through the holiday season to share these pictures of the super cute shower at my house for my good friend Meghan. As a Chi Omega, hosting a shower for another Chi Omega, whose mother was attending and is also a Chi Omega, what better decor than a plethora of all things hoot-iful! I hope you'owl enjoy!

