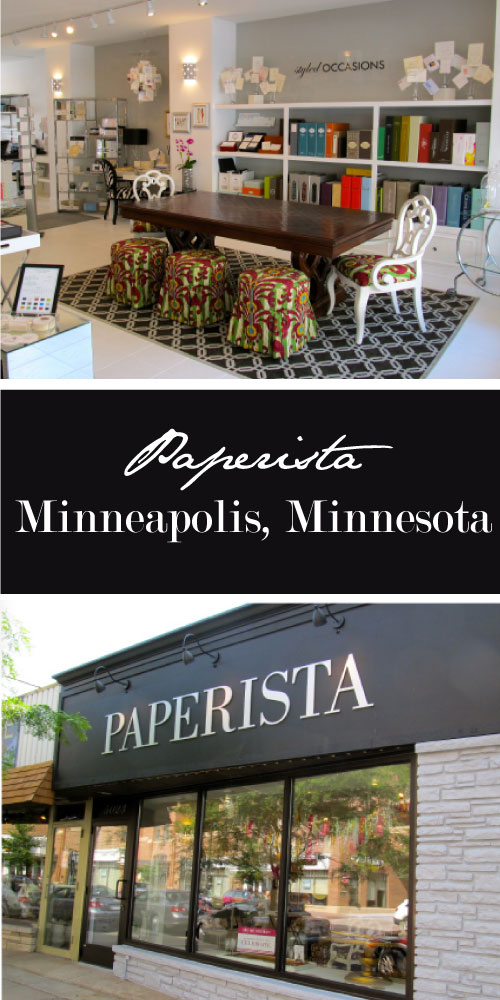
Paperista

Paperista-blog Antoinette at Paperista is fabulous! Paperista is a charming store in Minnestoa. The ladies at Paperista work to make sure all your wedding and stationery needs come true! They work with you to provide style and unique design onto paper. I just had to ask more after seeing Antointette's love for Zebra!!

How many years have you been in business? 3 years

Do you have a website, if so, what's the address? www.paperista.com

If you were to sell something other than stationery, what would it be? Christian Louboutin shoes, of course!

Besides the obvious (stationery), what is your favorite thing to give as a hostess gift? Flowers and a bottle of wine with ribbon attached to a simply stated sentiment!

Here at Haute Papier, we love to eat!  When in NYC for the National Stationery Show, where is your favorite place to eat? We LOVE to go to the The Standard Hotel under the High Line in the Meat Packing district. The patio of The Standard Grill is perfection!

Any other tidbits about your store you'd like to share? Paperista is a custom stationery and event design boutique in the quaint shopping area of 50th & France in Edina/Minneapolis, Minnesota.  In addition to famed couture stationery, Paperista also offers artisan greeting cards, entertaining accessories, everyday stationery, luxe on-trend gift items and designers who are available to style event environments (right down to the table-scape detail).

Make-It Monday from Colorado!

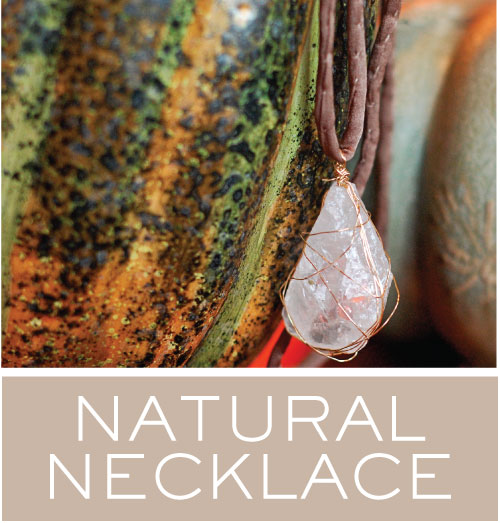
NecklaceGreetings from Breckenridge!  I'm here on a little get-away at our friend's beautiful home before the holiday rush begins at Haute Papier!   Yesterday we went for a great hike and then visited the Summer Fun Park at the bottom of the gondola where we panned for gems.  Yes, panned for gems with all of the kids.  I did ask and we weren't the first adults to take part!  Once we saw the gorgeous pieces of granite and quartz that the youngings were uncovering, I couldn't resist the urge to make a necklace from them. The process was simple.  I purchased some silk cording, thin gold wire and a bead to act as a fastener at the end of the necklace at the bead store in town and then went to town on wrapping our findings.  I left a loop at the top of the stone to tread it onto the silk and tied little knots at the end so I could adjust the length of the necklace. Isn't it pretty?

Necklace_Panning

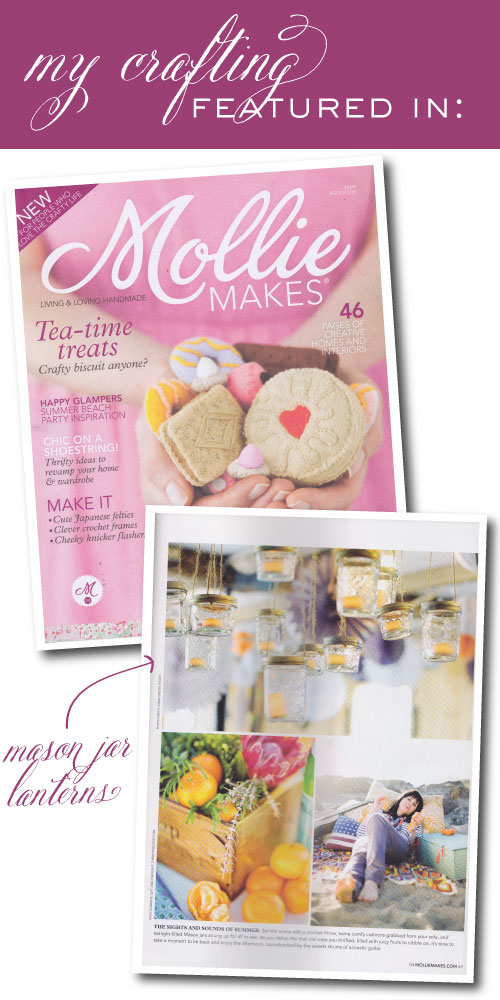
Featured in: Mollie Makes!

I was so excited to get a copy of the British publication, Mollie Makes in the mail yesterday featuring the rustic mason jar lanterns we made for my parent's 30th Wedding Anniversary party (see more on the party here, here, and here).  The magazine, which by the way is currently running a contest where you can win a subscription (here), is fabulous for craft lovers.  The tutorials are thorough and the ideas are fresh and inspiring! MollieMakes

Make-it Monday!

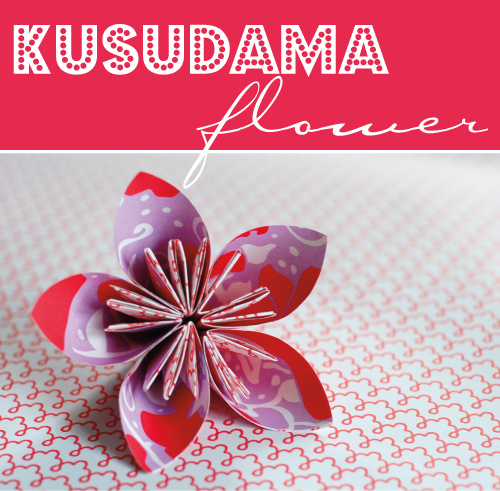
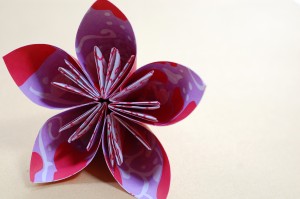
We're excited to introduce Make-it Mondays!  Each Monday tune in for a new DIY project from the ladies of Haute Papier. First up is a little origami with one of our favorite papers from our friends at Smock.  We carry their full line of flat papers in Leesburg - come by the retail store to pick some up for your very own paper folding projects. kusudama_origami_flowerMaterials:

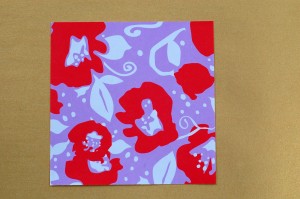
  • 5 square pieces of paper (you can actually use any size you like as long as it's square)
  • glue or double-sided tape

How to:

DSC_0070

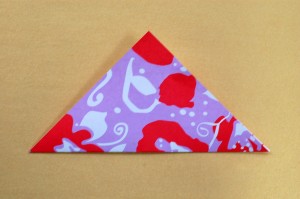
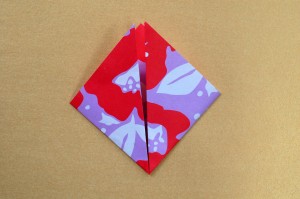
Fold the paper in half, creating a triangle

DSC_0071

Take the left and right corners and fold them up to the middle

DSC_0073

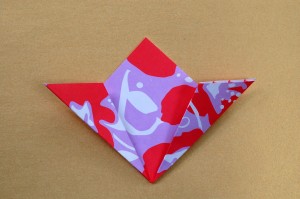
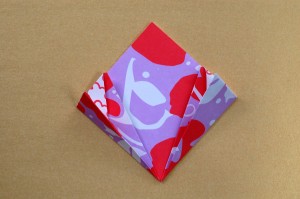
Fold the same pieces down to the right and left outside edge of the square. What was the inner fold, will line up with the edge of the outer square - see the picture below...

DSC_0075

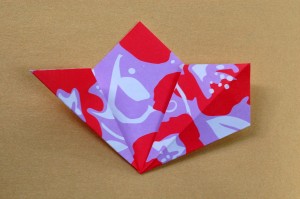
Open up the pockets you've just created and press them down. The image below shows the right side with this step done, be sure to do it on both sides.

DSC_0076

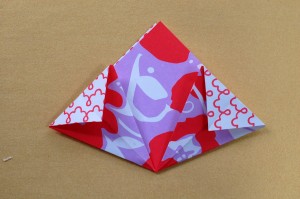
Fold the small triangles towards you on each side so they are level with the edges of the paper.  This is what makes the little "petals" on the inside of the completed flower.

DSC_0077

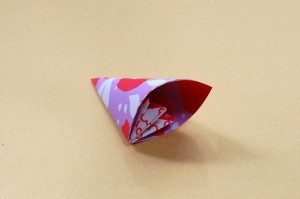
Fold the triangle in half on each side, using the crease you made earlier.

DSC_0078

Apply glue or double-sided tape on the outside triangle, stick it to the other side. This is your first petal. To complete the flower, you need to make 4 more of these petals and glue them together.

DSC_0079

DSC_0080

Happy Crafting!!!