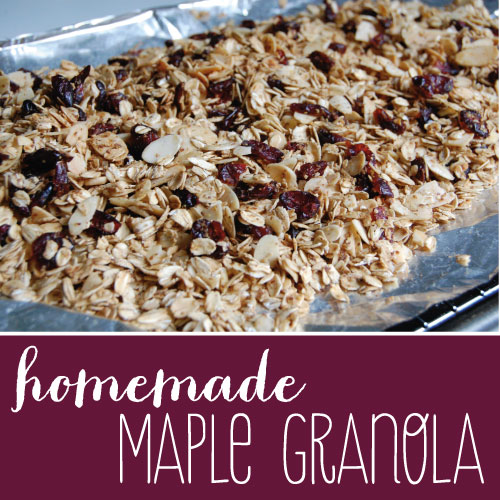
In all the craziness that is the weeks leading up to the National Stationery Show, I feel like I barely get out the door in the morning, let alone grabbing a Greek yogurt (my fave!) from the fridge. This weekend, I took a step back and prepared some food for the week... Healthy lunches, bags of vegetables for snacks and homemade granola to top that yogurt for breakfast. Give it a go - it just might give you that boost that I find myself needing in the morning!

Homemade Maple Granola
1/4 cup vegetable oil 2/3 cup maple syrup 2 tsp almond extract 4 cups oatmeal (not the quick stuff… you want the old fashioned oats!) 1/2 cup pumpkin seeds 1/2 cup slivered almonds 1/2 cup golden raisins 1/2 cup dried cherries
Preheat oven to 350 degrees.
In a small bowl, combine the maple syrup, oil and almond extract. Mix well.
In a large bowl, combine the rest of the ingredients. Stir to combine. Drizzle syrup mixture over oat mixture until all syrup has been incorporated.
Spread out on a greased cookie sheet and bake for 7 minutes. Remove from oven and stir mixture around on cookie sheet. Return to oven for 8 minutes more or until golden brown.
Let cool and serve. (If stored in an air tight container, granola will keep for a couple of weeks.)
Enjoy!

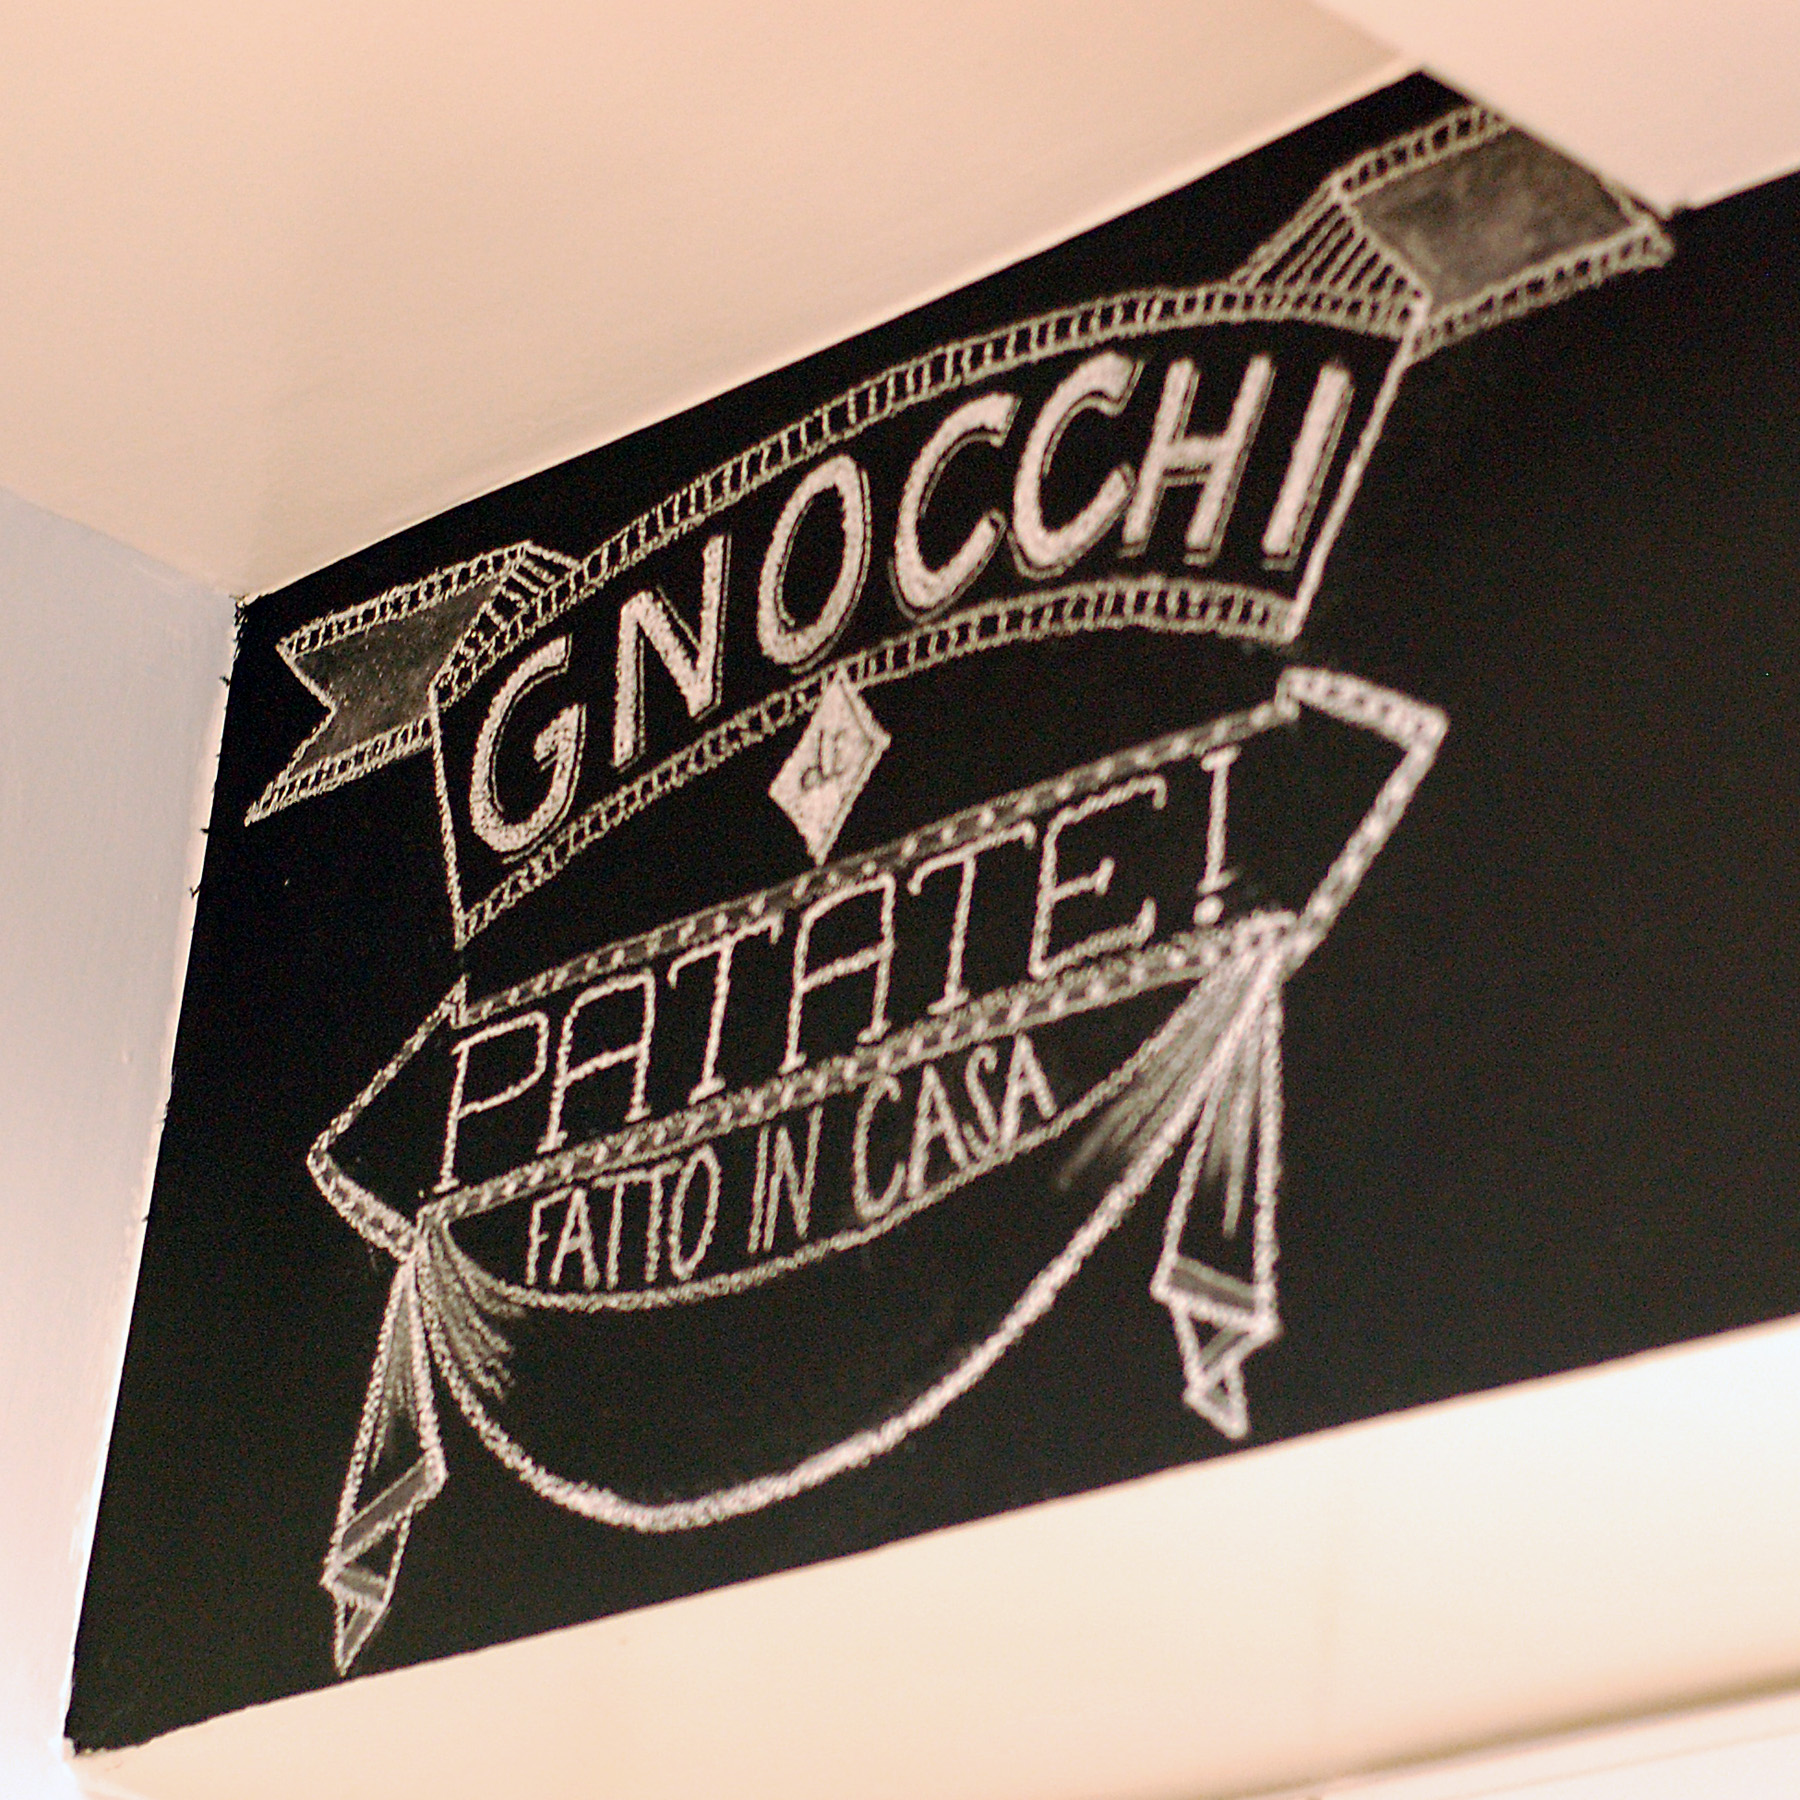
 Just a little peek inside of my kitchen today for Make-it Monday. Our all white kitchen needed a little livening up when we moved in, so I pained the top 2.5 feet of the wall in black chalkboard paint, and then started a "recipe mural" in white chalk. I'm only 1/3 done and looking forward to getting the rest of the recipe up there - maybe in the style of


 If you’re like me and sad to have it still be winter (darn groundhog), here’s a great gardening gift that you can make inside for the green-thumb in your life.
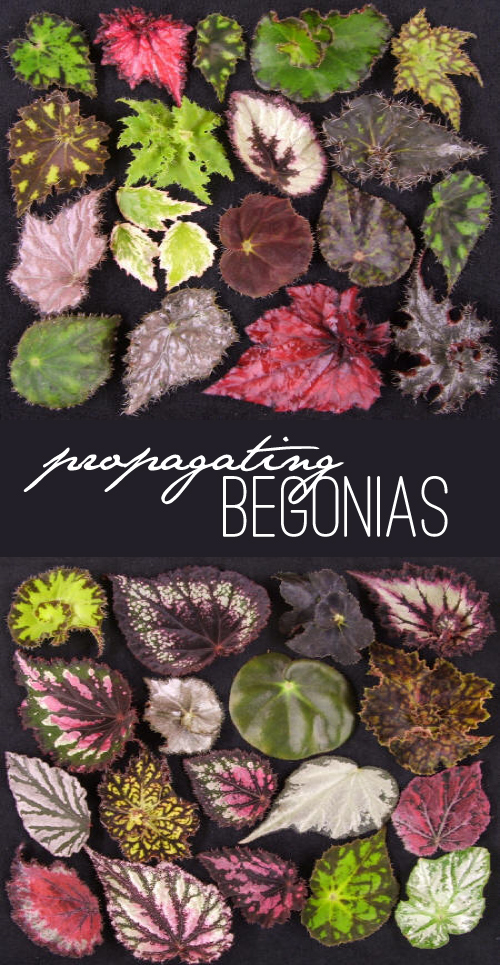
Begonias are one of the easiest plants to propagate; most varieties only need a little water to start new roots. They come in infinite varieties (I love the leaves as much as the flowers) and stand up incredibly well as city house plants (requiring relatively low light, rather infrequent waterings (a once-a-week soaking will suffice in a pot with good drainage), and they are undeniably gorgeous. Click below for the how-to.